| Prev | Next |
Linked Documents in the Document Window
The 'Linked Document' tab of the Document window provides several quick methods of checking elements for Linked Documents, and for reviewing the documents that exist. It also provides searches to locate and list any elements with Linked Documents in the model, and any elements that have Linked Documents that have been recently modified.
When you click on an element in the Project Browser, a diagram or an element list - such as the results of a search - the 'Linked Document' tab displays the name of the selected element and, if it has a Linked Document, the content of that document. If the element does not have a Linked Document, the content panel is blank. If you click on another element, the window updates immediately to show the element name and Linked Document (if any) of that element. You can therefore quickly scan a number of elements to check whether they have Linked Documents, and/or review the documents you locate. The 'Linked Document' tab provides options for reviewing the Linked Document, including switching to an Edit mode so that you can create or update the document.
Note that there are many options for creating a Linked Document via the Linked Document Editor, which is an alternative method. See the Edit Linked Documents Help topic.

Access
|
Ribbon |
Start > Explore > Properties > Linked Document or Show > Portals > Window > Document > Linked Document |
View Document
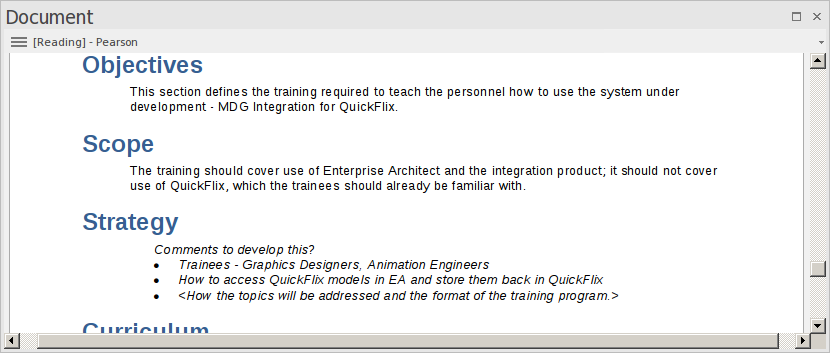
When you first open the Document window, it shows the selected element's Linked Document in View (Reading) mode. The element name displays in the menu button at the top of the window, with the prefix 'Reading'. Click on the menu button to access these options:
Option |
Description |
See also |
|---|---|---|
|
Edit Mode |
Switches the document into Edit mode and displays the Document Edit ribbon, which provides the facilities for updating the document. If the element does not currently have a Linked Document, you can immediately start typing in the display panel or import a file to create a Linked Document for the element. If the selected element is locked, the menu button displays the text '[Locked] - <element name>', and you cannot edit the Linked Document. Similarly, if you have edited the document but not yet saved the changes, the menu button displays an asterisk in front of the element name: for example, *PersonClass. While in edit mode, the Document window becomes locked to the parent element, and selecting another element or context will not switch the window to a different document. This helps you to move around the model, checking and gathering information without having to close and open the document several times. Once you quit edit mode, the window will again immediately refresh to show the document for whichever element you select. To switch out of Edit mode, click on the menu button and deselect the option. |
Create Linked Document on an Element Edit Linked Documents Document Edit Ribbon |
|
Lock Element |
Locks the element against changes - including changes to the Linked Document. Deselect the option to unlock the element and allow changes. |
|
|
Reload |
Refreshes the content of the displayed document from the last-saved version. |
|
|
Find in Project Browser |
Expands the Project Browser and highlights the Linked Document's parent element. |
|
|
Find in Diagrams |
Opens the diagram containing the Linked Document's parent element, with the element selected. If the element exists in more than one diagram, the 'Element Usage' dialog displays, from which you can select the diagram to open. |
Show Element Use |
|
Fixed Zoom |
Displays a short list of magnifications (as a percentage of 'normal' size) you can select to zoom the document display to, as well as a 'Custom' option that opens a dialog on which you can set any magnification between 10% and 500%. The zoom factor remains set after you close the document, and is applied when you re-open the document until you specifically change the zoom. |
|
|
Toggle Page Border |
Switches between full-screen display and page outline display (the default) where the information is shown within the framework of a page border. |
|
|
Find Elements with Linked Documents |
Opens the Find in Project view preloaded with an executed search for elements that have Linked Documents; as you click on an item in the search results, the Document window shows the corresponding Linked Document. |
Model Search Customizing the Search View |
|
Find Elements with Linked Documents Modified Recently |
Opens the Find in Project view preloaded with an executed search for elements that have Linked Documents that have updated within the last seven days (you can re-execute the search with a different number of days); as you click on an item in the search results, the Document window shows the corresponding Linked Document. |
Model Search Customizing the Search View |
|
Delete Linked Document |
Deletes the Linked Document currently displayed in the window. A prompt displays for you to confirm the deletion. |
Replace or Delete Linked Documents |
|
|
Displays the 'Print' dialog, which you use to configure the print job for printing the Linked Document. |

