|
VxWorks5.5只能创建静态库(.a),VxWorks6.0之后增加了动态链接库(.so)的功能,方便了多进程使用动态库。本文继承win32和linux编程入门的一贯风格,通过简单的动态库生成步骤,并编写RTP程序进行测试,让您初步认识VxWorks6.6强大的功能,同时也让我们注意到VxWorks6.6比VxWorks5.5在使用要复杂很多。我相信通过这些简单的编程知识点,您基本掌握了VxWorks6.6调试技巧,让我们后来者不必在调试过程中去探索黑暗。本文基本使用图形来描述操作流程:一副图低得上千言万语了。
VxWorks6.0之后版本新增引入了具有完全保护功能的实时进程Real Time
Process简称 RTP,首次完美的解决了内核保护与实时性和确定性之间的矛盾。用户可以根据需要动态的创建/删除
RTP实时保护进程或仅将一部分程序运行在 RTP实时保护进程中。RTP实时进程可以随时动态加载运行外部程序。每个RTP进程完全独立,程序在
RTP进程内部出现的任何错误都被限制在RTP进程内部,删除RTP实时进程时自动释放所有资源。RTP与其他多进程OS不同的是,VxWorks的RTP实时进程具有完全的静态确定性,提供保护功能的同时提供最高的实时响应确定性和快速性,并且可以提供完全的存储错误检测和存储报告功能。动态链接库和共享数据区功能也同时提供。
RTP实时保护进程与VWorks原有的更高性能实时任务一起构成保护性和实时性兼备的超级设备平台。
动态库生成
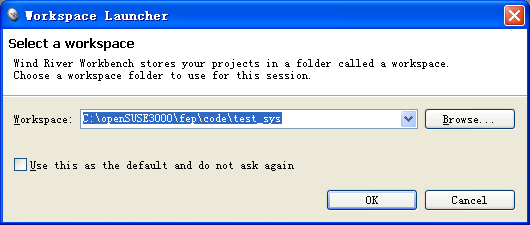
1.选择工程工作路径
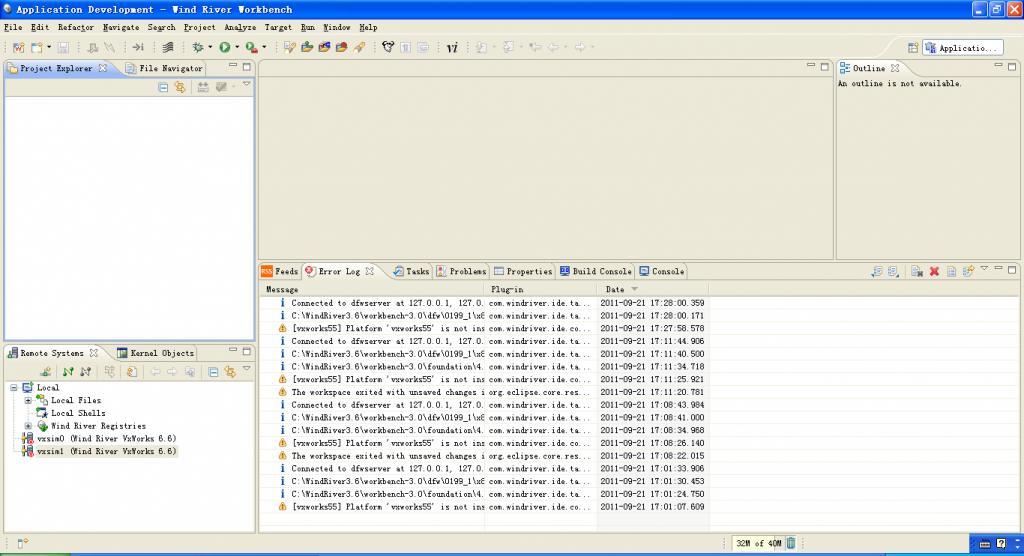
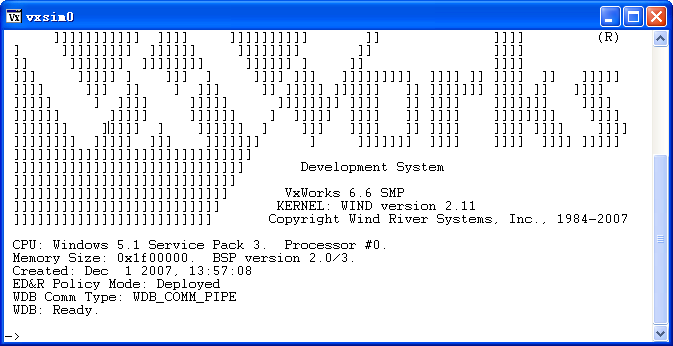
2.正常打开的初始界面
一般情况下左下角出现相似的界面,说明您的VxWorks6.6系统基本安装正常。需要注意的是系统安装了Tornado2.2会与WorkBench3.0冲突,最好要把Tornado2.2卸掉,操作系统Win7不支持两者的安装。
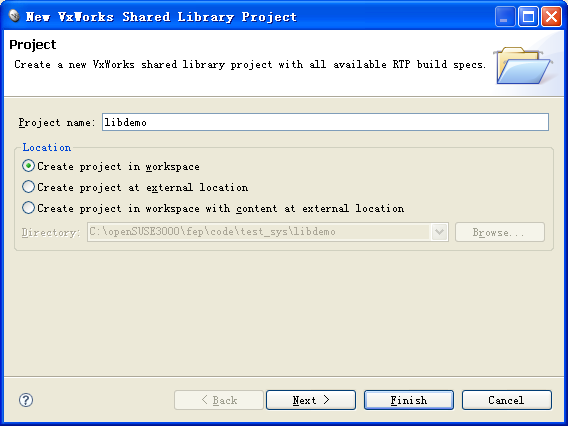
3.创建动态库工程

4.动态库名称
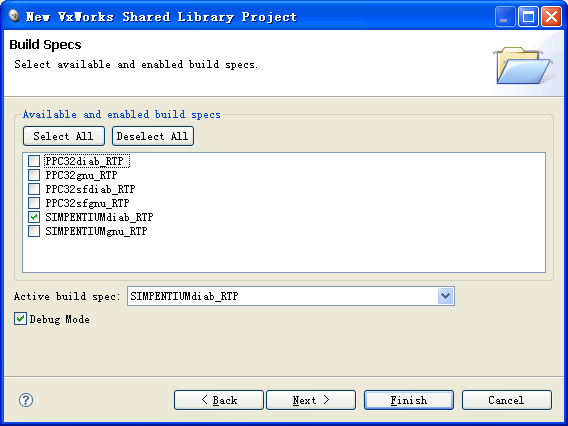
5.编译选择
这里我们选择diab工具编译,gnu编译工具在调试c++中的 Class类有点问题,具体原因我没有去研究。
6.其余默认,按完成即可
7.添加inc和src文件夹
A、Inc包含demo.h和stdafx.h;
B、src包含demo.cpp和stdafx.cpp。
stdafx.h
// stdafx.h : include file for standard system include
files,
// or project specific include files that are used
frequently, but
// are changed infrequently
//
#if !defined(AFX_STDAFX_H__E5CE9468_AAF9
_46A6_979B_9C125F6E9D00__INCLUDED_)
#define AFX_STDAFX_H__E5CE9468_AAF9_46A6
_979B_9C125F6E9D00__INCLUDED_
#if _MSC_VER > 1000
#pragma once
#endif // _MSC_VER > 1000
#define WIN32_LEAN_AND_MEAN // Exclude rarely-used
stuff from Windows headers
#include <stdio.h>
// TODO: reference additional headers your program
requires here
//{{AFX_INSERT_LOCATION}}
// Microsoft Visual C++ will insert additional declarations
immediately before the // previous line.
#endif // !defined(AFX_STDAFX_H__E5CE9468_AAF9_
46A6_979B_artcon9C125F6E9D00__INCLUDED_)
stdafx.cpp
// stdafx.cpp : source file that includes just the
standard includes
// libdemo.pch will be the pre-compiled header
// stdafx.obj will contain the pre-compiled type
information
#include "stdafx.h"
// TODO: reference any additional headers you need
in STDAFX.H
// and not in this file
demo.h
#ifndef _DEMO_H_
#define _DEMO_H_
// The following ifdef block is the standard way
of creating macros which make exporting
// from a DLL simpler. All files within this DLL
are compiled with the AE_DEMO_EXPORTS
// symbol defined on the command line. this symbol
should not be defined on any project
// that uses this DLL. This way any other project
whose source files include this file see
// AE_DEMO_ENTRY functions as being imported from
a DLL, wheras this DLL sees symbols
// defined with this macro as being exported.
#ifdef WIN32
#ifdef AE_DEMO_EXPORTS
#define AE_DEMO_ENTRY __declspec(dllexport)
#else
#define AE_DEMO_ENTRY __declspec(dllimport)
#endif
#else
#define AE_DEMO_ENTRY
#endif
// This class is exported from the libdemo.dll
class AE_DEMO_ENTRY CTest
{
public:
CTest();
virtual ~CTest();
public:
int Add(int a, int b);
protected:
int m_nCount;
};
extern AE_DEMO_ENTRY int nTest;
AE_DEMO_ENTRY int fnTest();
#endif // _DEMO_H_
demo.cpp
#include "stdafx.h"
#include "demo.h"
// This is an example of an exported variable
AE_DEMO_ENTRY int nTest = 0x64;
// This is an example of an exported function.
AE_DEMO_ENTRY int fnTest()
{
return 64;
}
// This is the constructor of a class that has been
exported.
// see demo.h for the class definition
CTest::CTest()
{
}
CTest::~CTest()
{
}
int CTest::Add(int a, int b)
{
return (a + b);
}
|
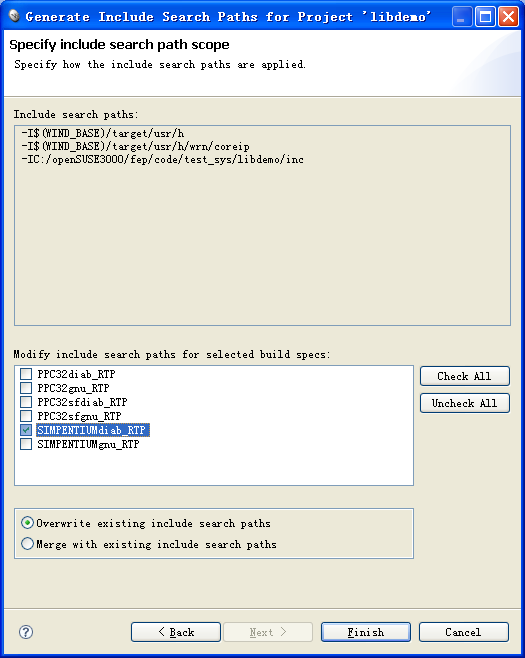
8.添加inc路径
9.刷新工程
如图所示,按鼠标右键刷新工程,inc和src即可添加到工程中去。
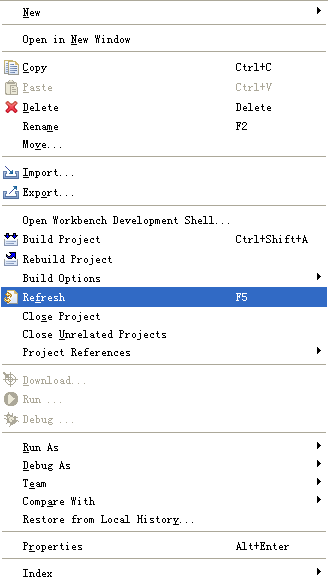
10.编译工程
从右键菜单中选择“build project”完成编译,把编译好的动态库 libdemo.so拷贝到
$(FEPHOME)/bin下,方便后面的使用。
注意:FEPHOME环境编译=c:/openSUSE3000/fep中的斜杠是反的。
动态库调用
VxWorks6.6调用比较麻烦,需要很多配置。
1.创建工程
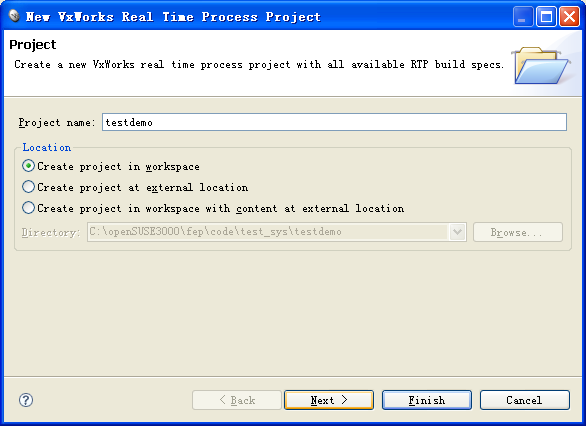
2.创建工程

3.默认完成
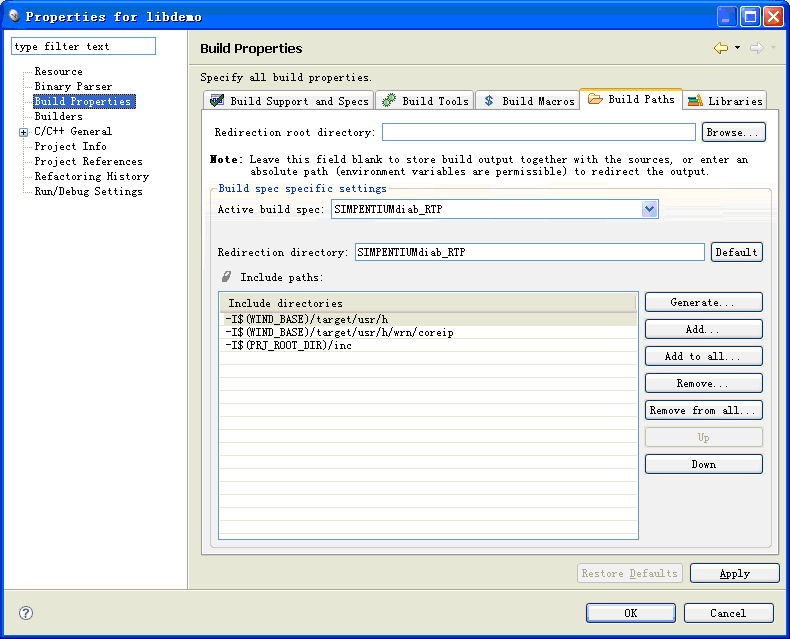
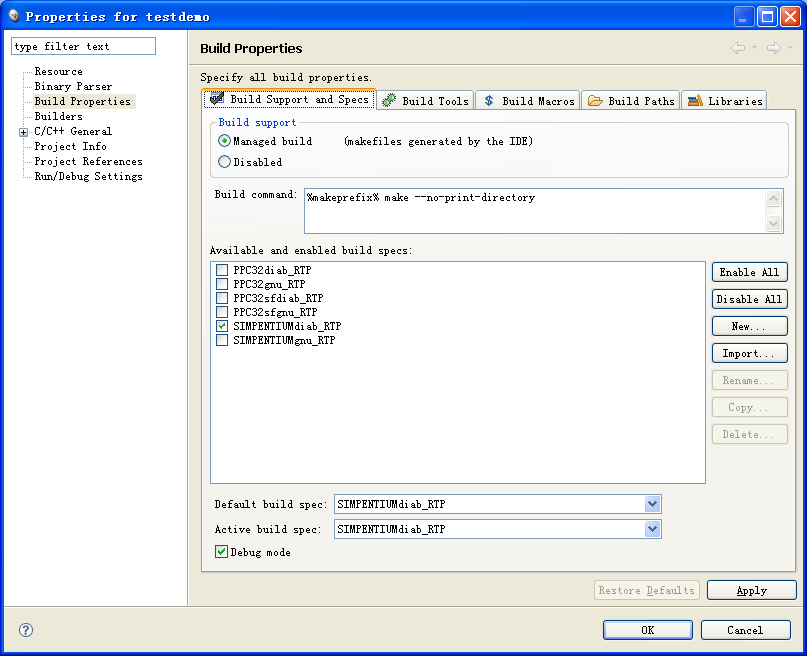
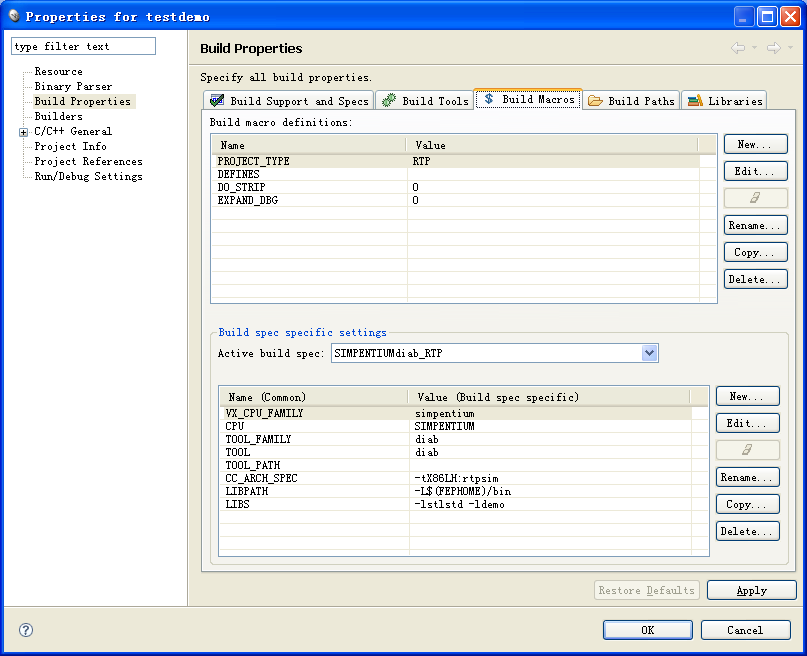
4.编译属性
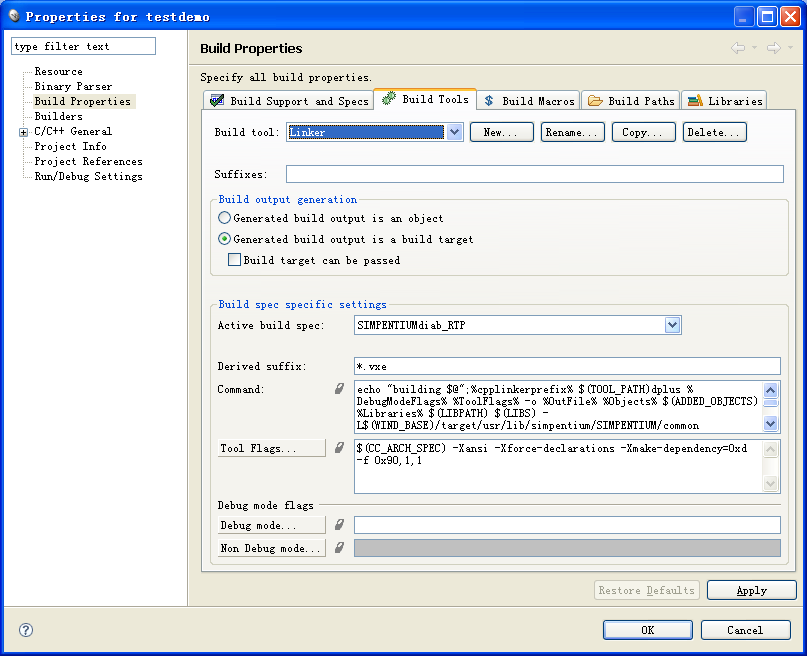
5.编译属性-linker
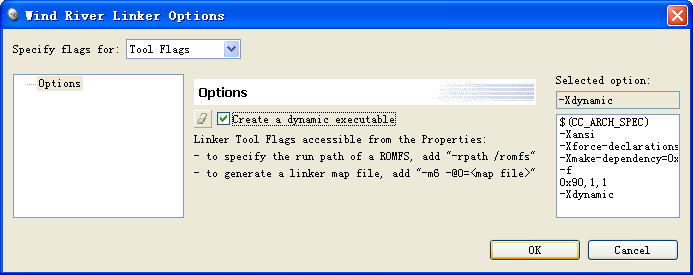
6.选中Create a dynamic executable
7.设置LIBPATH和LIBS
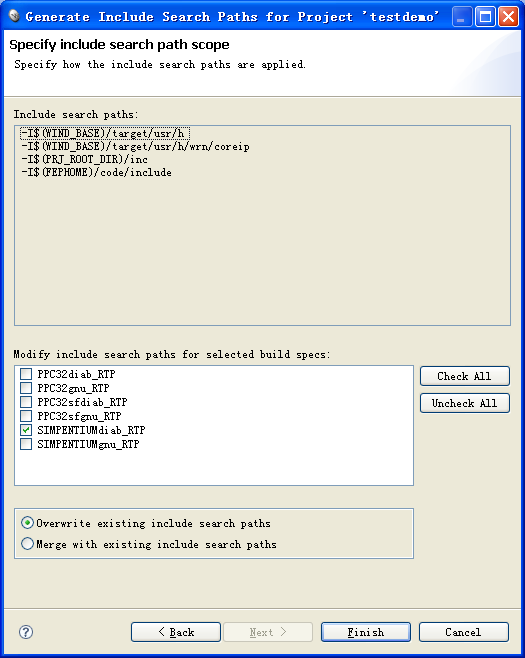
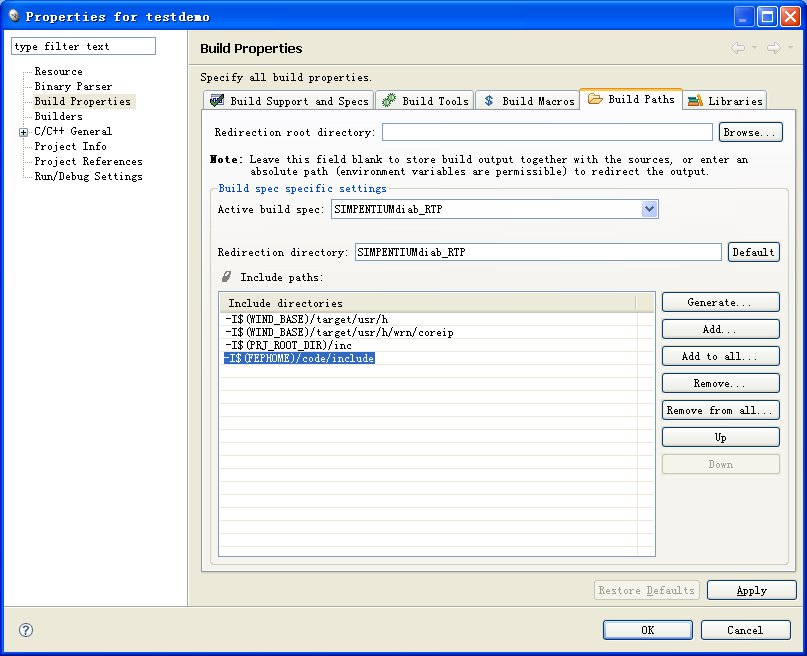
8.包含路径
这里包含$(FEPHOME)/code/include,因为libdemo.h需要放在这里,它是一个隐式调用的方式。
以上设置好即可编译,编译方式如上比较简单。把编译好的动态库 testdemo.vxe拷贝到$(FEPHOME)/bin下,方便后面的使用。
9.启动仿真
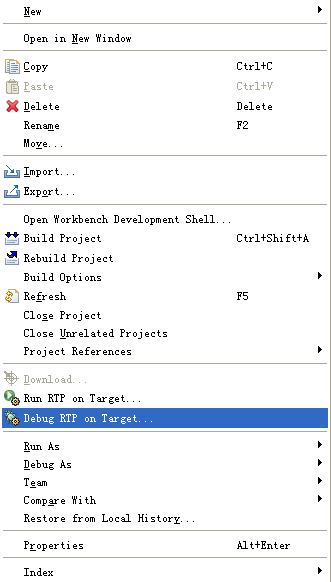
10.调试
因为动态链接库是给RTP使用的,我们只能选择Debug RTP On Target在目标机上运行。
11.设置运行程序路径
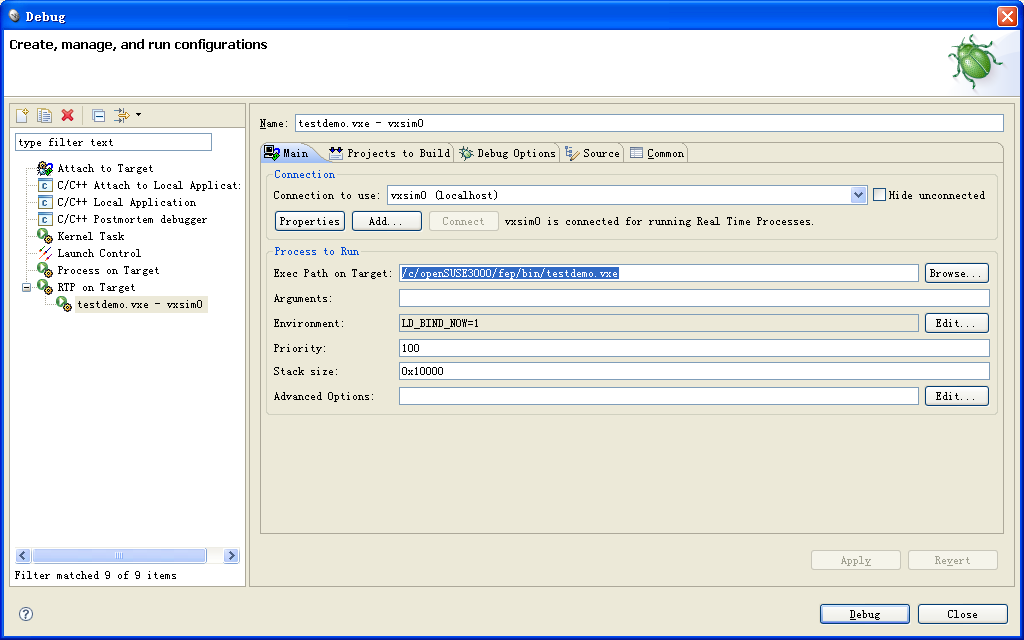
12.执行Debug
执行上面的Debug按钮之后,将出现如下的画面。
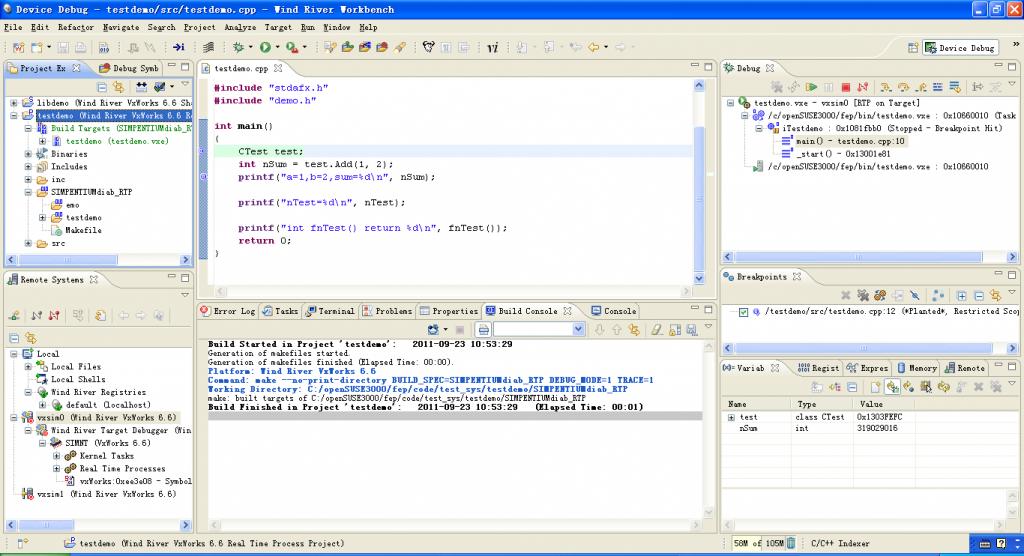
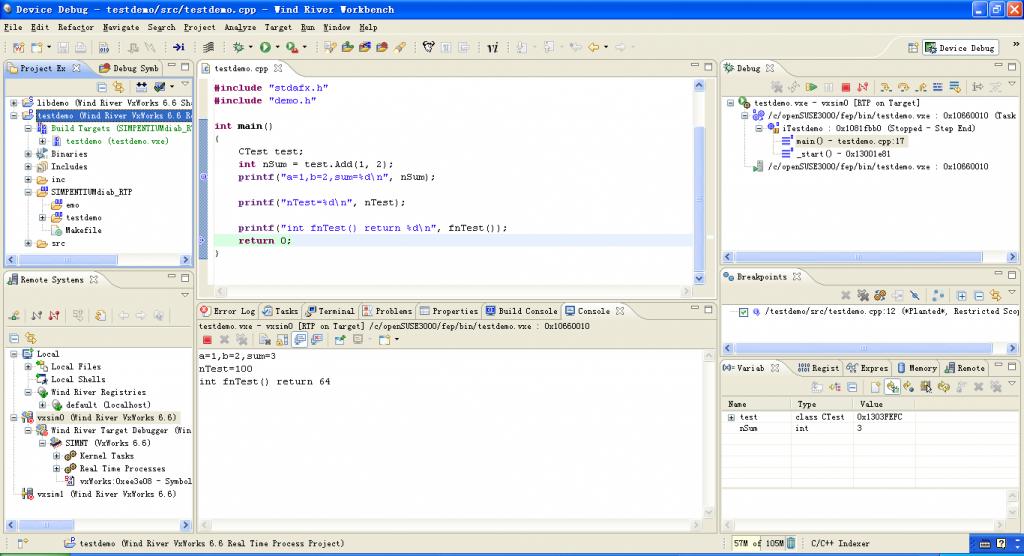
13.F6单步执行
调试可以按F6单步执行,右上角的工具栏上也有该功能项按钮。选择中间的Console控制台TA B栏,我们可以看到输出结果了。
14.执行后的仿真器
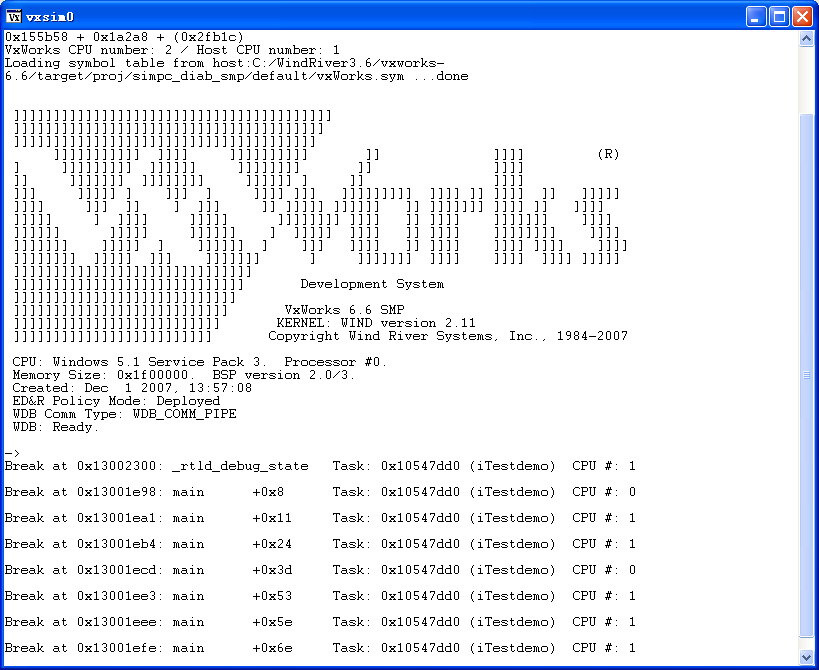
SHELL调用
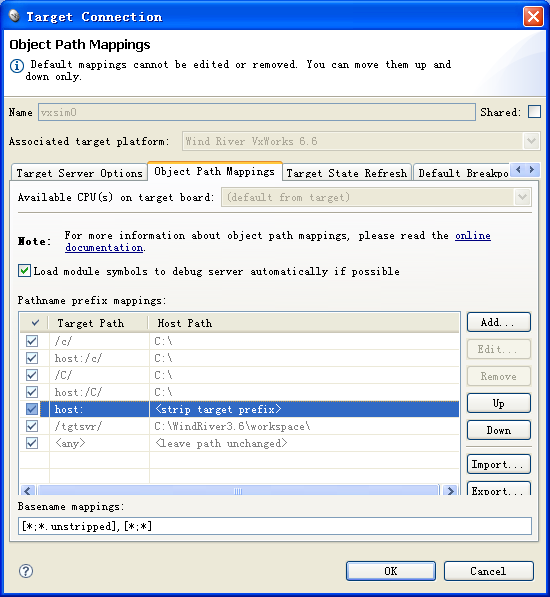
1.首先看看仿真器的虚拟路径
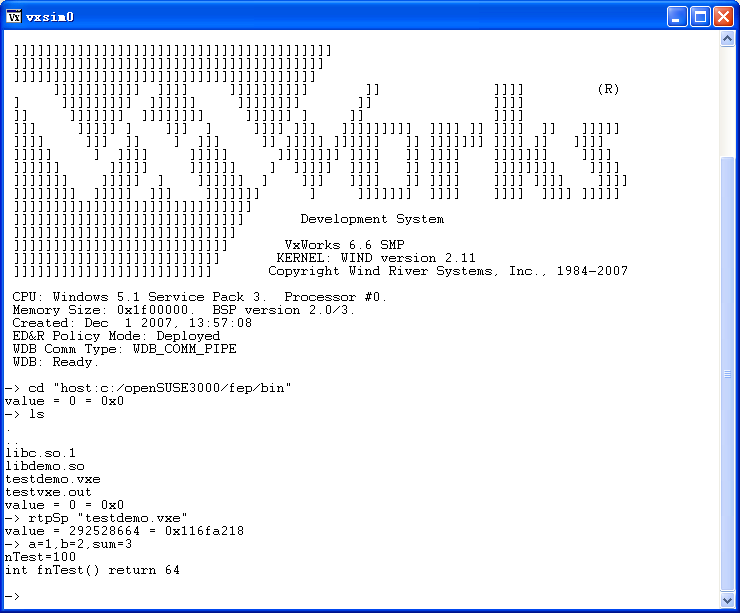
2.在仿真器中执行testdemo.vxe
|